To set a column to a specific width, select the column that you want to format.
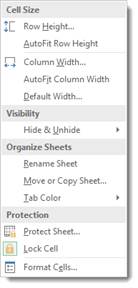
Next, go to the Cells group under the Home tab. Click the Format dropdown menu.
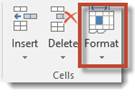
Pictured below is the dropdown menu.

Select Column Width.
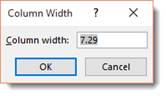
Type in the width of the column, keeping in mind that it reflects the number of characters that can be displayed.
Change the Width of the Column to Fit the Contents
Maybe you just want to make sure that the columns are wide enough to display all the contents, but you don't want to take the time to count characters. Perhaps you aren't even sure how many characters there will be, but want to make sure the column will be wide enough anyway.
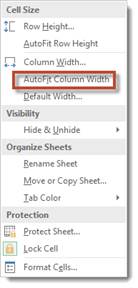
To do this, go back to the Format dropdown menu. This time select AutoFit Column Width.
The width of all the cells in a selected column will now be determined by the cell with the most characters.
Match the Column Width to Another Column's Width
You can also match the width of one column to the width of another column. To do this, select the column whose width you want to match.

Copy the column by right clicking and selecting copy.
Next, select the column whose width you want to change. Right click within a cell in that column and select Paste Special.

Put a check by Column Widths, then click OK.
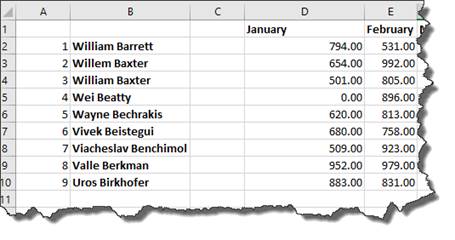
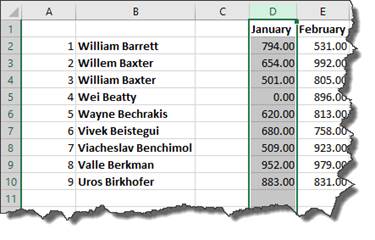
As you can see, the column width of column D has been expanded to match the column width in column B.
Change the Default Width for All Columns in a Worksheet or Workbook
To change a default column width for a worksheet, click the worksheet tab to make the worksheet active. To change it for the entire workbook, click a worksheet tab, then right click, and select Select All Sheets.
Now, go back to the Home tab and click the Format dropdown arrow again.
Select Default Width.
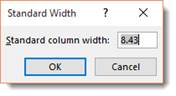
In the Standard Width box, type the new measurement.
Change the Width of Columns by Moving the Mouse
To change the width of one column using your mouse, drag the right side of the column to the right until you reach the desired width. To do so, move your mouse to the line separating two columns until you see horizontal arrows appear.
To change the width of multiple columns, select the columns that you want to change, then drag the right side of one column to its desired width.
To change the width of all the columns in a worksheet, select the entire worksheet by clicking the box to the left of column A and above row 1, then dragging the boundary of any column.
Changing Rows to a Specific Height
You follow the exact same steps to change row height as you did for columns.
To change a row to a specific height, select the row(s) that you want to change.
Go to the Home tab and click the dropdown arrow below Format.
Select Row Height.

Row height is measured in points. In the snapshot above, the row height is set at 15 points. This is the same size as font size 15.
Enter the row height, then click OK.
Change Row Height to Fit Contents
Just as you changed the width of a column to fit the contents of the widest cell in a column, you can also change the height of a row to match the height of the tallest cell.
To do this, select the rows(s) that you want to change.
Select AutoFit Row Height from the Format dropdown menu on the Ribbon.
Change a Row Height by Dragging the Mouse
You can also change the height of a row(s) by simply dragging the mouse.
To do this, select the row(s) whose height you want to change.
Next, drag the boundary below a row to adjust its height. To adjust the height of multiple rows, drag the boundary of one of them.