-
Viewing clips in the Source Monitor
-
Configuring the Source Monitor
-
Working with clips in the Source Monitor
-
Interpreting footage
Introduction to the Source Monitor
The Source Monitor is pictured below:
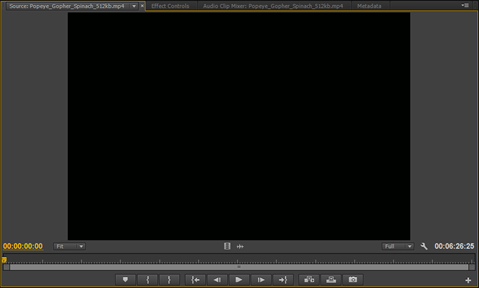
The Source Monitor offers ten different views as compared to two in the Project panel.
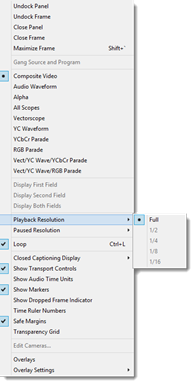
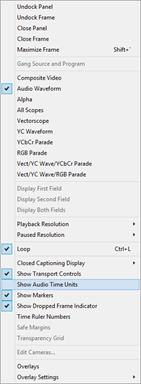
To locate the views, go to the panel menu. The panel menu is located in the upper right hand corner of the Source Monitor panel. It looks like this: 
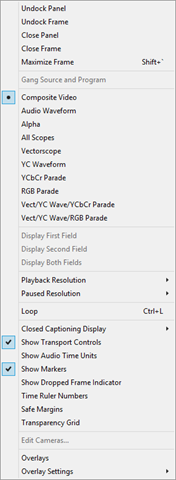
Then ten views are listed in the menu above. They are:
-
Composite Video . This mode displays video in normal mode. It is also the primary mode.
-
Audio Waveform shows the audio waveform, as you will see.
-
Alpha . This shows the transparency of a video or image.
-
All Scopes . This displays a wave form monitor, vectorscope, YCbCr parade, and RGB parade.
-
Vectorscope . A vectorscope measures a clip's color characteristics.
-
YC Waveform is used for adjusting brightness and contrast.
-
YCbCr Parade displays the Y, Cb, and Cr components in IRE.
-
RGB Parade displays the R (red), G (green), and B (blue) components separately.
-
Vect/YC Wave/YCbCr Parade shows the Vectorscope, YC Waveform, and YCbCr parade.
-
Vect/YC Wave/RGB Parade shows the Vectorscope, YC Waveform, and RGB parade.
These views allow you to view all types of content in the Source Monitor, from video clips to audio to images. In addition, you can have more than one clip open in the source monitor and switch back and forth between them.
Viewing a Clip in the Source Monitor
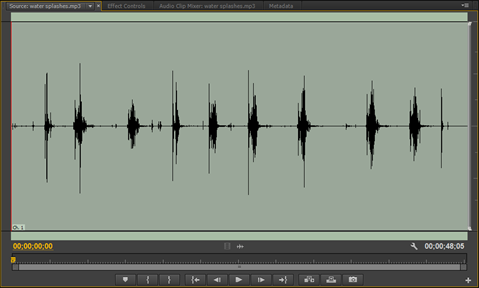
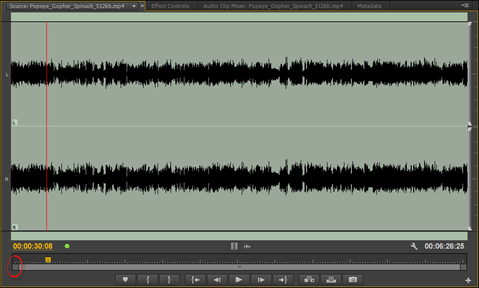
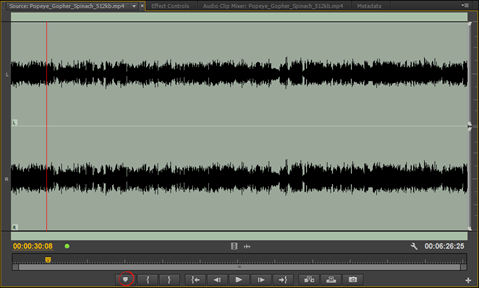
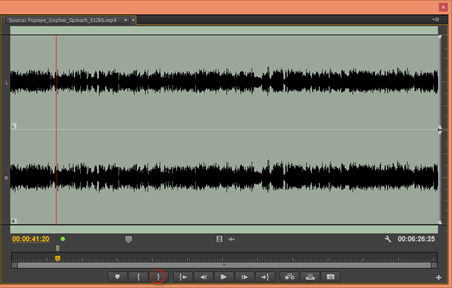
To view a clip in the Source Monitor, you can drag the clip into the Source Monitor from the Project panel or double-click the clip that you want to view. Audio clips will appear as waveforms, as shown below.
If you want to have more than one clip in the Source Monitor, simply drag them from the Project panel. In the Source Monitor, you will see a triangle beside the clip's name. Click the triangle to switch between clips.
In the snapshot below, we have clicked on the triangle. The clip with the dot by it is the clip we are currently viewing. To switch clips, we simply click on the other on that is listed.
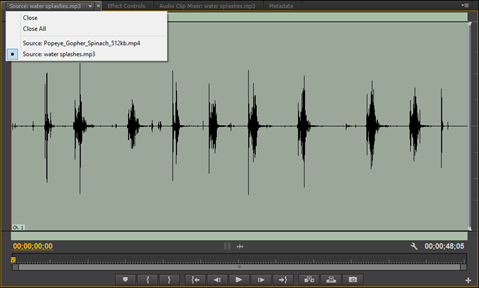
In the above snapshot, we are viewing the waveform of an .mp3 file that we imported. You can also view the audio component of any video clip using the Source Monitor.
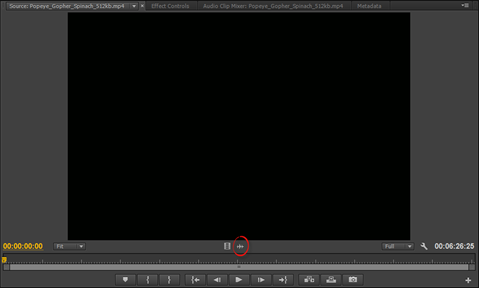
To do this, click the Drag Audio Only button. It is circled below.
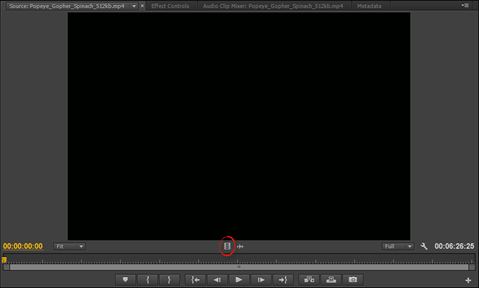
To switch it back to where you can see the video, click the Drag Video Only button (circled below).
Configuring the Source Monitor
We are going to talk about the different configuration options throughout this article before we move on to working with clips in the Source Monitor.
Safe Zones
Safe zones, or safe margins, exist so that your video displays as you want it to on devices such as televisions and that the critical action happens in the right location when the video displays. These are called the title-safe zone and the action-safe zone.
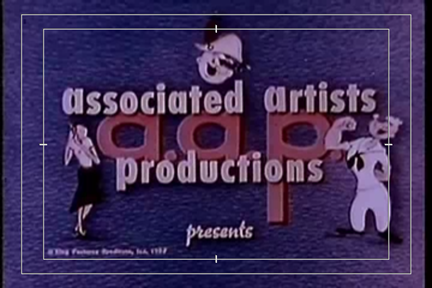
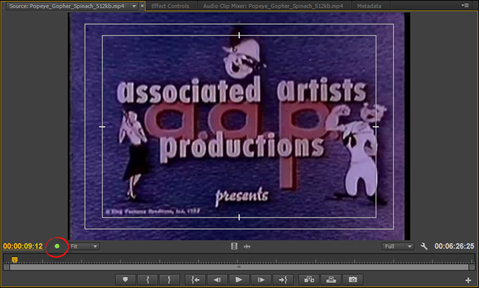
These safe zones are shown in our clip below:
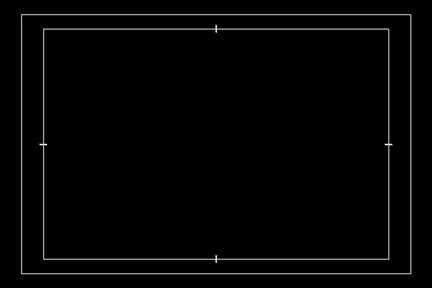
The outer white line (or margin) is the action-safe zone. The inner line is the title-safe zone.
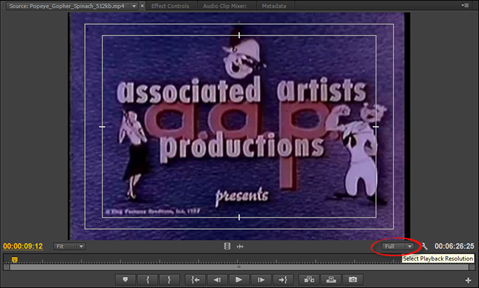
To see how these work, we have scrubbed ahead in our clip.
In the snapshot above, notice that the text (or title) falls within the title-safe zone. The action falls within the action-safe zone. In this instance, the action is simply graphics, but you get the idea.
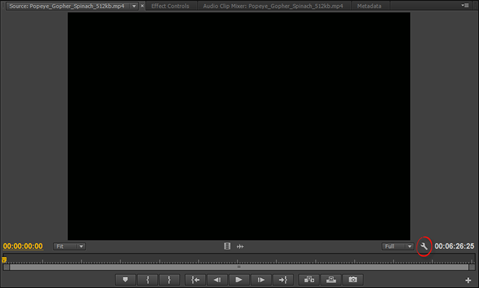
To see the safe zones in your clip, go to the panel menu or click the wrench in the Source Monitor.
If you want to change the dimensions of the safe zones, go to File>Project Settings. Go to the Action and Title Safe Areas section.
Altering the Magnification Level
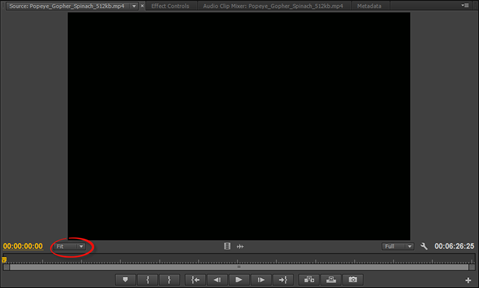
Any clip loaded into the Source Monitor is scaled to fit in the panel. However, if you need to see the full sized video, you can also do that.
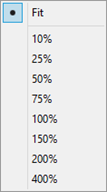
To customize the magnification level, click the Fit dropdown menu, as circled below.
Select a zoom level.
Working with Resolution
The resolution that you use to preview your video in the Source Monitor may need to be adjusted. Full resolution may result in slower playback – or less than the full frame rate for the video – depending on the video source as well as the graphics card on your computer.
When you are working with and editing the project, you may find that real-time playback becomes more important than the quality of the pixels that you are seeing in the Source Monitor.
To change the resolution, click the Select Playback Resolution dropdown menu (circled below).
Select the resolution that you want. You can choose ½, ¼, 1/8, or 1/16.
You can also go to the panel menu
To adjust the paused resolution, go to the panel menu and select Paused Resolution. When your video is paused, playback is not a concern. For that reason, it is recommended that you choose Full (100%) for your paused resolution.
About Dropped Frames
Dropped frames are frames that are skipped over during playback. The frames are skipped over because a hard disk cannot keep up or because your computer processor cannot apply all the effects in time.
Premiere Pro shows displays an indicator to let you know when frames are dropped. To enable it, go to the panel menu and choose Show Dropped Frame Indicator.
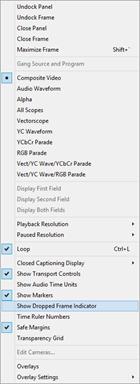
The Dropped Frame Indicator is circled in the snapshot below. When frames are dropped, the indicator turns orange. You can mouse over it to see how many frames were dropped.
Fixing Interlaced Footage
Interlaced footage occurs when two fields are showing in the display. It looks like you have part of one frame mixed with the current frame. In other words, you have double images.
There may be times you want to see the double images, such as debugging a rendering issue. Most of the time, however, you will want to get rid of it.
Here is how to fix it:
Go to the panel menu and select either:
-
Display First Field to display the first of the interlaced field.
-
Display Second Field to display the second field.
-
Display Both Fields to display them both.
NOTE : You configure the Program panel in the same way as the Source Monitor.
Working in the Source Monitor
Once you have the Source Monitor configured, you can use it to complete tasks in Premiere Pro, such as inserting markers and establishing In and Out points. Markers are used to mark points you might use later in the editing process. For example, you may want to mark the point for a DVD chapter marker.
The In and Out points, as well as the markers, you choose may be selected by a point in the video. However, they may also be selected by points in the audio waveform. For that reason, when selecting points or markers, it may help to zoom in.
Adjusting Detail
To adjust the detail to better add points or markers, drag the edge of the zoom scroll bar, as circled below.
To see more detail, drag it inward. To see less detail drag it outward.
You can also move the bar to the desired spot in the clip.
Using Vertical Zoom
In the last section, we adjusted detail using horizontal zoom. You can zoom in vertically as well. To zoom in vertically, grab the edge of the vertical scroll bar. Drag inward for more detail. Drag outward for less detail.
Using Audio Time Units for Markers and Points
The Source Monitor displays video timecode; however, it can also display audio time units. This can be helpful when you want to add points or markers using the audio of a clip.
To enable or disable audio time units, go to the panel menu.
Select Show Audio Time Units.
Adding Markers in the Source Panel
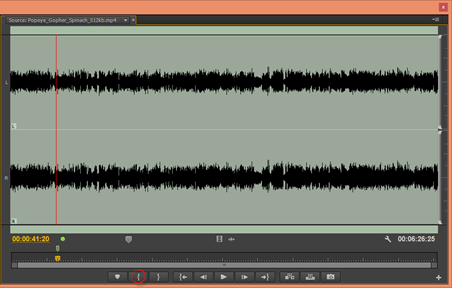
To add a marker, start out by dragging the playhead to the location where you want to place the marker.
Next, you can click the Marker button (circled below).
You can also go to Marker in the Menu Bar, then select Add Marker (Marker>Add Marker).
The marker than appears above the Time Ruler, as shown below.

There is another marker indicator above the frame that contains the marker.

Double click on the marker to add more information about it.
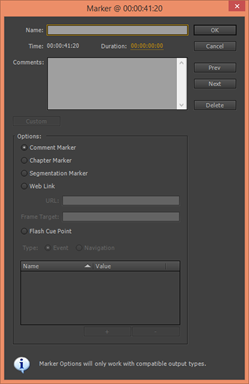
In the Marker dialogue box (shown above), you can add:
-
A name for the marker.
-
Comments about the marker.
-
The type of marker it is.
We will talk more about this dialogue box when we discuss markers again in relation to the timeline.
To move a marker, grab it and drag it to a new location.
Setting In and Out Points
We already learned to set In and Out points in the Project panel. That said, setting them in the Source Monitor is just as easy.
To set In and Out points:
Drag the playhead to the point you want to use as the In point.
Click the Mark In button (circled below).
Now, drag the playhead to the Out point.
Click the Mark Out button (circled below).
Creating Subclips
Think of a subclip as an excerpted part of a clip that you imported. Perhaps you have :30 of footage, but you want to use :10 of that footage separately. You want to use it separately, and you want to edit it separately. You can do this by creating a subclip.
To create a subclip, mark In and Out points for the subclip.
Go to Clip>Subclip, or right click in the Source Monitor and select Make Subclip.
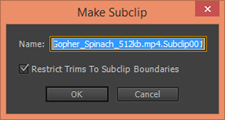
You will then see the Make Subclip dialogue box.
Enter a name for the subclip, then uncheck Restrict Trips to Subclip Boundaries so you can access all frames in the master clip for future editing.
Click OK.
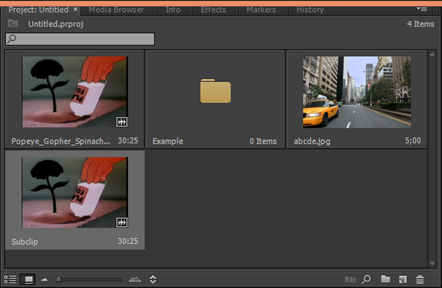
You can now see the subclip (which we named Subclip) in the Project panel. It appears as its own clip.
If you want to edit the subclip, right click on it in the Project panel. Select Edit Subclip.
You will then see the Edit Subclip dialogue box.
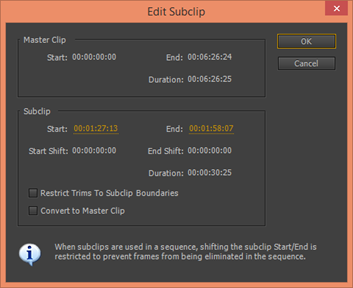
You can extend the clip's duration by adjusting the Start or End values. You can also convert it to a master clip. This is basically a duplicate of the master clip that you used to create the subclip.
Interpreting Footage
Sometimes an image or a clip can seem distorted in Premiere Pro. This is due to the various types of source footage, such as HDV and JPEG) have not different frame rates, aspect ratios, transparency values, etc.
To fix this, go to the image or clip in the Project panel.
Right click on the image or clip, then select Modify>Interpret Footage.
You will then see the Interpret Footage dialogue box.
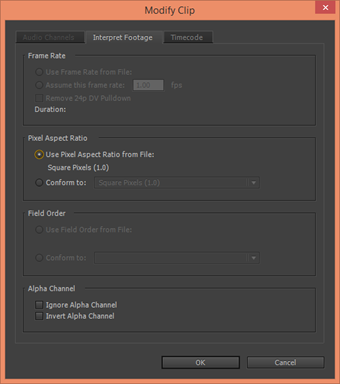
Using this dialogue box, you can fix the four main problems that cause distortion:
-
Frame rate . If the footage is faster or slower than the real frame rate, check "Assume This Frame Rate," then enter the real frames per second (fps). You will probably need to experiment to get it just right.
-
Pixel Aspect Ratio . This is one of the most common problems. Check Conform To, then the correct aspect ratio. You will need to experiment to find the right one.
-
Field Order . If the problem is field order, you will have jittery footage in the timeline or after rendering. Select Conform To, then choose the correct field order.
-
Alpha Channel problems are with logos, titles, and such and manifests itself as the wrong portion of an image being transparent. See if checking either of these boxes fixes the problem.